How to Install Drywall Lyrics
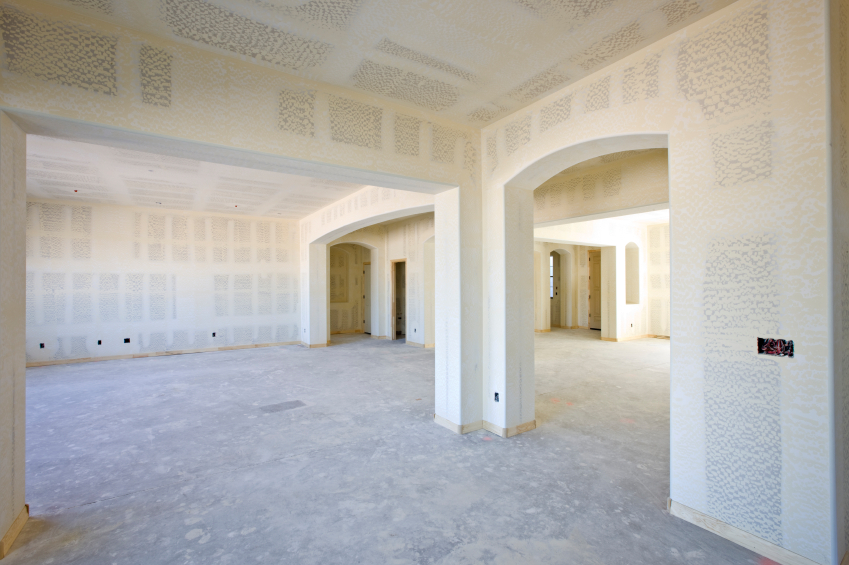
On the surface, hanging drywall might appear to be a daunting task. However, with a little patience, some help in lifting the drywall into place and the right tools, you'll find it's not very difficult to complete.
Preparation
• Moving drywall sheets yourself is difficult, so make sure you have an assistant or a cradle lift to make positioning the drywall easier.
• Hang drywall horizontally instead of vertically as this can lessen the amount of taping required and place the seam at a convenient height.
• Hang plastic sheeting at each door leading to other rooms to trap dust. Also, shut off the air conditioner to avoid getting dust particles in the ductwork and spreading it throughout the house.
Safety
• Use a dusk mask to avoid getting dust particles in your lungs.
• Wear eye protection to avoid getting dust particles in your eyes.
Savings
• Installing the drywall yourself, with the aid of an assistant, is a great way to save on the cost of your project.
• Installing the drywall horizontally will save you as much as 25% of taping, which will save a lot of time and
effort.
• If you have a large room with many drywall panels to install, a drywall cradle lifter will make it easier; and
renting the machine instead of buying one will help you save money.
WHAT YOU NEED FOR THIS JOB:
TOOLS:
Saw Horse
Tape Measure
Utility Knife
Spiral Saw
MATERIALS:
Drywall
Drywall Screws
Joint Compound
Step 1: Measure the width of the wall and cut the sheet so it's about 1⁄4 inch shorter. Have someone help you position the sheet tight against the ceiling, and begin driving 11⁄4-inch screws in the middle of the panel at a convenient height.
Step 2: Drive the screws 16 inches apart into all of the studs. Once the first screws are in place put in the rest, working your way from the center of the panel toward the outside. Drive the screws 16 inches apart into all of the studs.
Step 3: A longer wall may need more than one sheet of drywall. Start by hanging a full sheet as before. Tack it in place, and then drive screws every 16 inches into the studs.
Step 4: Take off the window trim and cut the window opening in the drywall. If the sheet covers a window that has yet to be installed, cover the window with a drywall panel and insert a few screws for positioning. If you have a drywall router, plunge the router into the approximate center of the window and cut sideways and vertically until you find the edges. If you don't have a router, use a handsaw.
If the window is already in place, take off the window trim and cut the window opening in the drywall sheet before you hang it. Lay out the cut by positioning the sheet along the floor and marking where it meets the bottom edge of the windows. Measure from the ceiling to the window top to lay out the top edge of the cut.
Step 5: Lay out a door cut the same way as a window. Remove the trim, lean the piece against the opening, mark the location of the studs, and draw a line for the top of the door opening. Make cuts for both doors and windows with a router or drywall saw and screw the panels in place with drywall screws.
Step 6: Cut a piece of drywall 1/4-inch short to fit between the corner and the last installed panel. Screw the drywall in place. Where the panels meet, cut a V-groove into the short untapered ends with a utility knife, as this will make hiding the joint easier when you're taping.
Step 7: Position the piece, lift it with a panel lift and screw it in place. Begin the bottom row with a shorter piece so that the seam in the top row will not be directly above the seam in the bottom row. Position the piece, lift it with a panel lift, and screw it in place. When the small piece is in place, install the longer piece.
There should be a slight gap between the floor and the drywall so that the drywall won't jam against bumps in the floor. Baseboard will cover it later. If necessary, trim the sheet to leave about a 1⁄2-inch gap.
Step 8: Use spiral or hand saw to cut space for outlets. Using a spiral saw is the most effective way to cut space for outlets. Note the height of the outlet box and draw marks on the floor to show where it is. Remove the wires and screw the drywall in place, covering the box and driving just enough screws to keep the drywall in place. Find the inside edge of the box by plunging the spiral saw into the box and cutting sideways to the edges in a counterclockwise direction.
If you are using a hand saw, rub the edges of the box with lipstick and put the drywall panel in place with two screws for positioning. Remove it, and cut along the lipstick marks on the back of the panel. Reattach the panel and add drywall screws as necessary.
Step 9: For framing corners cut the piece long so that it hangs over the corner. When framing outside corners, cut the piece long so that it hangs over the corner. Then trim it with a spiral saw after it's in place. Hang the abutting panel, leaving it long too, and trim it to create a tight, well-fitted corner.
Step 10: Protect the corners with metal corner bead. A bead that is a bit long will kink when you fasten it. To prevent this, cut the bead with tin snips, leaving it about 1⁄2 inch short. Hold the bead tight against the ceiling. Screws will distort the bead, so nail it in place, spacing the nails every 9-inches.
Now that you've hung the drywall, it's time to finish the joint work. See our online project guides for Taping Joints, Finishing Inside Corners and Finishing Outside Corners for more steps and information about the next phase of your project.
About
Genius Annotation
Drywall: we all need it, but it ranks as one of the more painful and tricky home repairs. As it turns out, it does not have to be!
Via Home Depot
Q&A
Find answers to frequently asked questions about the song and explore its deeper meaning

Comments